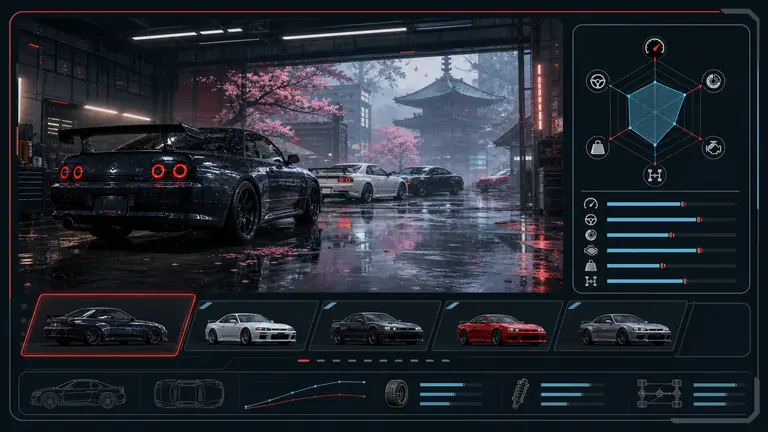
Tuning

Real slider values, cross-checked - not one guide's guess

No official Forza Horizon 6 tuning table exists, so this page compares the numeric ranges from several independent guides side by side instead of presenting one figure as gospel. Where sources disagree, both ranges are shown so you can test the gap yourself.

Verdict

Follow the tuning order first; treat any single PSI or camber number as a starting range

The sequence you tune settings in matters more than any individual number: tires, then springs/ride height, then alignment, then anti-roll bars, damping, brakes, differential, aero and gearing last. Within that sequence, independent guides give overlapping but not identical ranges for tire pressure, camber and differential percentages - this page shows both ranges instead of picking one arbitrarily.

The nine-step tuning order

Cross-checked against ForzaTune's updated tuning guide and GamingProMax's Forza Horizon 6 tuning guide - both independently describe the same sequence.

  1. 1 Tires - pick the compound for the surface first; everything after this step is tuned around that grip level.
  2. 2 Springs and ride height - set these before alignment, since ride height changes the geometry your camber and toe numbers are working against.
  3. 3 Camber, toe and caster - dial in the contact patch and steering feel once the chassis height is settled.
  4. 4 Anti-roll bars - control weight transfer through corners after the base alignment is locked.
  5. 5 Damping - tune bump and rebound to match the spring and ARB changes above, not before them.
  6. 6 Brakes - set pressure and bias once the chassis is stable under load.
  7. 7 Differential - lock in power delivery last among the mechanical settings, after the car already handles predictably.
  8. 8 Aero - balance front/rear downforce once the mechanical grip picture is final.
  9. 9 Gearing - tune the gearbox last, since every change above shifts how much grip is actually available to put power through.

Road-build slider ranges: two independent guides compared

"Source A" is ForzaTune's updated tuning guide (which separates FH6, FH5 and Forza Motorsport ranges). "Source B" is GamingProMax's Forza Horizon 6-specific tuning guide. Where they agree, that overlap is your safest starting point. Where they diverge, both ends are shown.

Setting Source A (ForzaTune) Source B (GamingProMax) Note
Tire pressure - stock/street compound 27-32 PSI cold, 30-40 PSI warm target 26-28 PSI Both guides describe FH6 as running slightly higher than FH5's 27-30 PSI cold range - start near the middle and adjust from your warm in-race reading, not the cold number.
Tire pressure - semi-slick/slick/drift compound Not specified separately 30-33 PSI Higher-grip compounds want a narrower, slightly firmer window than street tires.
Camber -1.0 to -1.5 degrees to start; caution above -2.0 degrees FH6 rewards less camber than the stock default (no exact figure given) Start conservative and add negative camber in 0.2-degree steps while watching tire-wear heat in the tune screen.
Caster 5.5-6.5 degrees; default 5.5, snappy above 6.0 Around 7 degrees for controller players The gap between these two is real - controller players report wanting more caster for stability than the wheel-focused range in Source A.
Differential - RWD accel / decel 40-60% / 20-40% 50-60% / 10-20% Both ranges overlap around 50-55% accel; decel is the bigger disagreement, so test both ends on a single corner before committing.
Differential - AWD center balance 60-70% rear 60-90% rear, never below 50% A dedicated AWD road-race writeup (see below) gives a fuller breakdown: Front Accel 28%, Front Decel 0%, Rear Accel 100%, Rear Decel 45%, Center Balance 70-85%.
Aero balance (front:rear ratio) Near 0.50 0.4-0.45 Source A's FH6-specific note runs slightly higher than Source B's general balanced-build target - lean toward 0.45-0.50 and adjust for understeer/oversteer on your own car.
Brake pressure Not specified 100-110% Push past 100% only after confirming ABS behavior on your controller or wheel setup.

Drag racing

Drag setup values - and one figure worth treating with caution

The drivetrain and transmission guidance below is corroborated across multiple independent drag guides. The gear-ratio and tire-pressure figures come from a single guide each, so they get a lower confidence label - test them in a private event before trusting them in competitive drag runs.

Setting Reported value Source
Drivetrain AWD for launch traction forzafire.com drivetrain guide
Transmission Race Transmission, 8-10 gears to stay in the powerband through the full quarter-mile forzafire.com drivetrain guide
Final drive (single-source figure) Roughly 2.20 ezg.com drag racing guide
RWD differential accel/reduction (single-source figure) Accel ratio around 80, reduction ratio around 100 ezg.com drag racing guide
Tire pressure (single-source, disputed) Front ~55 PSI, rear ~15 PSI reported by one guide - this is far outside the 26-33 PSI range every other guide gives for any build type ezg.com drag racing guide

Why the differential numbers spread so wide

A dedicated AWD drivetrain writeup from forzafire.com gives a fuller road-racing breakdown than either range-only source above: Front Accel 28%, Front Decel 0%, Rear Accel 100%, Rear Decel 45%, Center Balance 70-85%. It also notes AWD cars often feel sluggish and understeer-prone below 65% rear bias - useful context for why "60-90%" as a bare range undersells how much the low end actually costs you in corner exit speed.

Match the setup to the build, not just the class

These ranges are for road builds. Drift builds run a locked 100% differential and separate tire pressure targets - see the drift car guide for the mandatory Drift Tires/Suspension/Differential setup. Off-road and rally builds drop tire pressure well below the road range - see the off-road guide.

A repeatable test process instead of copying one number

Pick a value from the middle of the overlapping range in the table above, not an extreme end. Drive the same short route or the built-in benchmark loop twice - once before and once after each change - and change only one setting group between runs. If a number from a single-source figure (like the drag gear ratio or the extreme tire-pressure claim) does not hold up on your own car, drop it and fall back to the two-source overlap range instead. This is the same benchmark-driven approach the PC and Steam Deck settings page uses for graphics settings - measure, change one variable, measure again.

Tuning FAQ

What order should I tune a Forza Horizon 6 car in?

Tires first, then springs and ride height, then camber/toe/caster, then anti-roll bars, damping, brakes, differential, aero, and gearing last. Tuning gearing before the mechanical settings above it wastes the work, since every earlier change shifts how much grip is available to put power through.

Why do different Forza Horizon 6 tuning guides give different PSI and camber numbers?

Independent guides report overlapping but not identical ranges - for example 27-32 PSI cold versus 26-28 PSI for stock tires, or 5.5-6.5 degrees of caster versus around 7 degrees for controller players. These are community-tested ranges, not a single official table, so treat any one number as a starting point and adjust from your own test-lap results.

Is the extreme drag tire pressure figure (55 front / 15 rear PSI) reliable?

Treat it with caution. It comes from a single guide and sits far outside the 26-33 PSI range every other source gives for road, drift and rally builds. Test it in a private event before trusting it in a ranked drag run.

Apply it to a real build

Put these ranges to work on a real car from the S1 class guide or the S2 class guide, or check the full vehicle database before choosing what to tune first. Fund the parts with the credits farming guide, and if you race on a wheel, pair this with the wheel settings guide so force feedback matches your new tune instead of masking it.